
Step-by-Step DIY Vogue Photo Booth for Stunning Photos
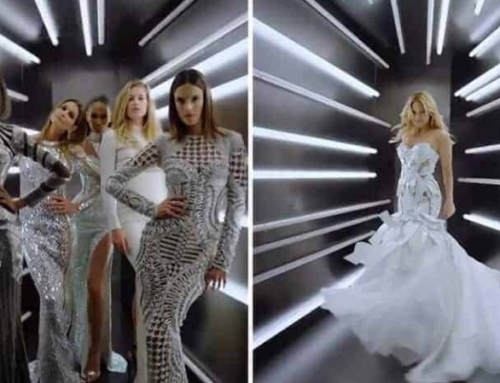
Are you looking to add a touch of glamour and fun to your next event? A DIY Vogue Photo Booth is the perfect solution! With a little creativity and some essential materials, you can create a stunning photo booth that will make your guests feel like they’re on the cover of a fashion magazine. In this guide, we’ll walk you through the steps to build your own Vogue Photo Booth, complete with a chic LED enclosure.
Materials You’ll Need:
- Backdrop: Choose a backdrop that screams elegance and style. This could be a plain white backdrop, a sequin curtain, or a customized banner with your event’s theme.
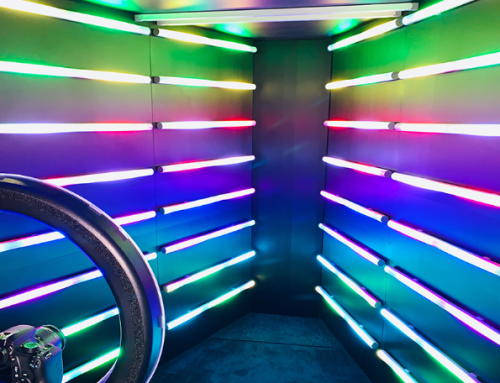
- LED Enclosure: LED lights are crucial for creating that glamorous Vogue look. You can buy a ready-made LED enclosure or create your own using LED strips.
- Camera and Tripod: A good quality camera mounted on a tripod ensures steady and high-quality photos.
- Props and Accessories: Think oversized sunglasses, feather boas, hats, and other fun accessories that guests can use to jazz up their photos.
- Photo Booth Software/App: Use software or an app that allows guests to see a preview of their photo, add filters, and share their pictures instantly.
Step-by-Step Guide:
Step 1: Set Up the Backdrop Choose a location with enough space for your backdrop and lighting. Hang your chosen backdrop securely. If you’re using a banner, ensure it’s wrinkle-free and centered.
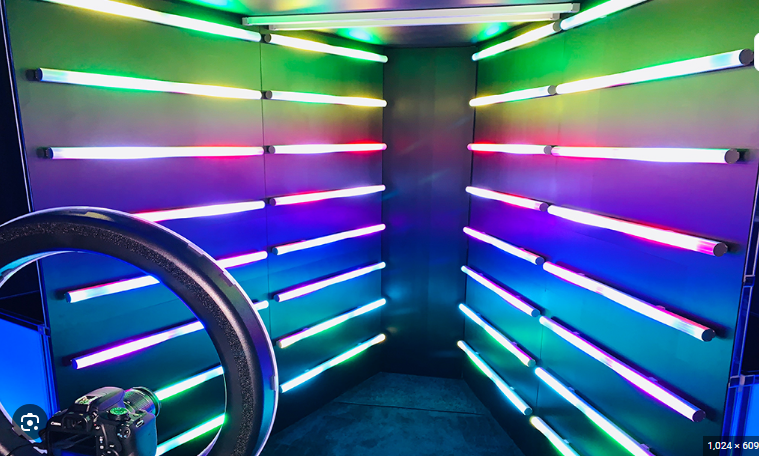
Step 2: Install the LED Enclosure Position the LED strips around the edges of your backdrop or create a frame that guests can stand within. This LED enclosure will provide the perfect lighting to give your photos a professional and glamorous look. Make sure the lighting is even and covers the entire area where guests will be posing.
Step 3: Position the Camera and Tripod Place your camera on the tripod at the perfect height for capturing full-body shots. Ensure the camera is stable and connected to your photo booth software or app. Test the camera angle and lighting to make any necessary adjustments.
Step 4: Add Props and Accessories Set up a table nearby with a variety of props and accessories. Encourage guests to mix and match items to create their unique looks. This adds an element of fun and creativity to the photo booth experience.
Step 5: Test the Setup Before the event starts, take a few test shots to ensure everything is working perfectly. Check the lighting, camera angle, and backdrop alignment. Make any final adjustments needed.
Step 6: Open the Photo Booth Once everything is set up and tested, invite your guests to start using the photo booth. Encourage them to strike their best poses and use the props. The LED lighting will ensure they look fabulous in every shot.
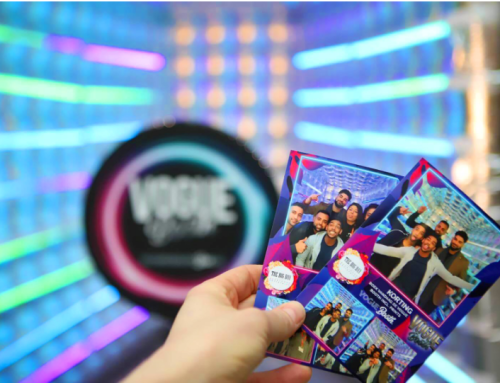
Step 7: Share the Fun Ensure the photo booth software or app is set up to share the photos instantly. Guests can email the photos to themselves, share them on social media, or print them out as keepsakes from the event.
Tips for a Successful DIY Vogue Photo Booth:
- Keep It Simple: Sometimes less is more. A clean, elegant setup can be more impactful than an overly complicated one.
- Focus on Lighting: Good lighting is key to achieving that Vogue-style look. Ensure your LED enclosure is bright and evenly distributed.
- Encourage Creativity: Let your guests know that the more creative they get, the better their photos will be. Encourage fun poses and the use of props.
By following these steps, you’ll create a DIY Vogue Photo Booth that will be the highlight of your event. Your guests will have a blast taking stunning photos, and you’ll have created lasting memories for everyone to cherish. So, get ready to strike a pose and capture the moment in true Vogue style!
