
Photo booths have become a popular addition to events and parties, providing guests with a fun and interactive way to capture memories.
While renting a professional photo booth can be costly, creating your own DIY photo booth backdrop is a cost-effective and creative alternative. In this article, we will guide you through the process of choosing the right materials, building the backdrop frame, decorating it creatively, and capturing the perfect photos.
Choosing the Right Materials for Your DIY Photo Booth Backdrop
When it comes to choosing materials for your DIY photo booth backdrop, there are several factors to consider. First and foremost, you need to decide on the size and style of your backdrop. If you’re hosting a small gathering, a simple and compact backdrop may suffice. However, for larger events, you may want to opt for a more elaborate and eye-catching design.
One popular material for photo booth backdrops is fabric. Fabrics such as muslin or satin can create a clean and professional look. They are also versatile, allowing you to experiment with different colors and patterns to match the theme of your event. Another option is using a vinyl backdrop, which is durable and easy to clean. Vinyl backdrops often come in various designs, including scenic landscapes or abstract patterns, adding a unique touch to your photos.
Step-by-Step Guide to Building Your Own Photo Booth Backdrop Frame
Once you have chosen the materials for your DIY photo booth backdrop, it’s time to build the frame. Building a sturdy and stable frame is crucial to ensure that your backdrop stays in place throughout the event. Here is a step-by-step guide to help you with the process:
1. Measure and cut the PVC pipes: Start by measuring the desired height and width of your backdrop. Use a hacksaw or PVC pipe cutter to cut the pipes accordingly. Remember to account for the connectors’ length when measuring the width.
2. Assemble the frame: Connect the PVC pipes using T-connectors and elbow connectors to create a rectangular frame. Make sure to secure the connections tightly to prevent any wobbling.
3. Add stability: To enhance stability, insert additional PVC pipes diagonally across the frame. Attach them using T-connectors and secure them tightly.
4. Attach the backdrop: Once the frame is complete, attach your chosen backdrop material to the frame using clamps or zip ties. Ensure that the backdrop is taut and wrinkle-free for the best results.
Creative Ideas for Decorating Your DIY Photo Booth Backdrop
Now that you have your DIY photo booth backdrop frame ready, it’s time to unleash your creativity and make it visually appealing. Here are some creative ideas to inspire you:
1. Paper flowers and garlands: Create a whimsical and colorful backdrop by incorporating paper flowers and garlands. These can be easily made using tissue paper or cardstock and attached to the backdrop using tape or glue.
2. Balloon wall: Inflate balloons in various sizes and colors to create a vibrant and playful backdrop. Attach them to the backdrop frame using string or adhesive dots. This idea works particularly well for birthday parties or celebratory events.
3. Customized signage: Personalize your backdrop by adding customized signage or banners. These can include event hashtags, the names of the hosts, or fun quotes related to the occasion. Use stencils, paint, or vinyl lettering to create the desired effect.
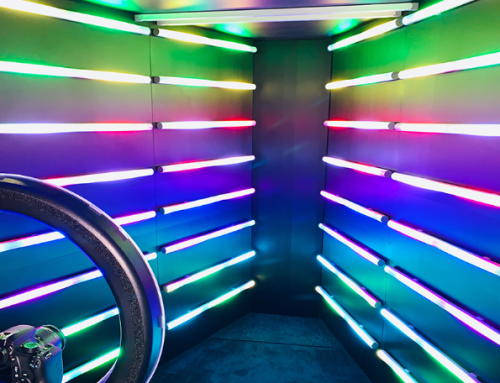
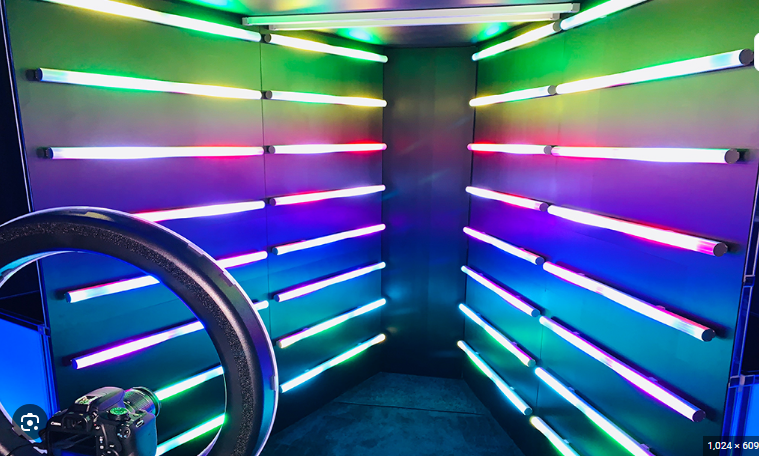
4. LED lights: Add a touch of glamour to your backdrop by incorporating LED lights. String them along the frame or attach them directly to the backdrop material. The soft glow of the lights will create a magical ambiance and enhance the overall photo booth experience.
Tips and Tricks for Capturing the Perfect Photos with Your DIY Photo Booth Backdrop
Now that your DIY photo booth backdrop is complete, it’s time to ensure that you capture the perfect photos. Here are some tips and tricks to help you make the most of your backdrop:
1. Lighting is key: Ensure that the photo booth area is well-lit to avoid dark or shadowy photos. Natural light is ideal, but if that’s not possible, consider using additional lighting sources such as lamps or studio lights.
2. Provide props: Enhance the fun factor by providing props such as hats, masks, or signs for guests to use in their photos. This will encourage them to be more playful and creative, resulting in memorable and entertaining pictures.
3. Set up a camera or smartphone tripod: To ensure steady shots, set up a camera or smartphone tripod in front of the backdrop. This will allow guests to take their own photos without the need for a photographer. Alternatively, assign someone to be the designated photographer for the event.
4. Encourage interaction: To capture candid and spontaneous moments, encourage guests to interact with the backdrop. This can include jumping, striking poses, or even creating group photos. The more engaged your guests are, the more memorable the photos will be.
In conclusion, creating your own DIY photo booth backdrop is a fantastic way to add a personal touch to your events and parties. By choosing the right materials, building a sturdy frame, decorating creatively, and following some photography tips, you can create a memorable experience for your guests and capture moments that will be cherished for years to come. So, grab your tools and let your creativity shine as you embark on this exciting DIY project!


